


-
Bayou Pools
-
 Pool Opening
-
 0 Comments
-
 April 10, 2026
DIY Pool Opening: 7 Essential Steps to Sparkle Your Summer
Open Your Pool in Sterlington, LA: 7 Steps to Summer Success
Open Your Pool in Sterlington, LA: 7 Steps to Summer Success
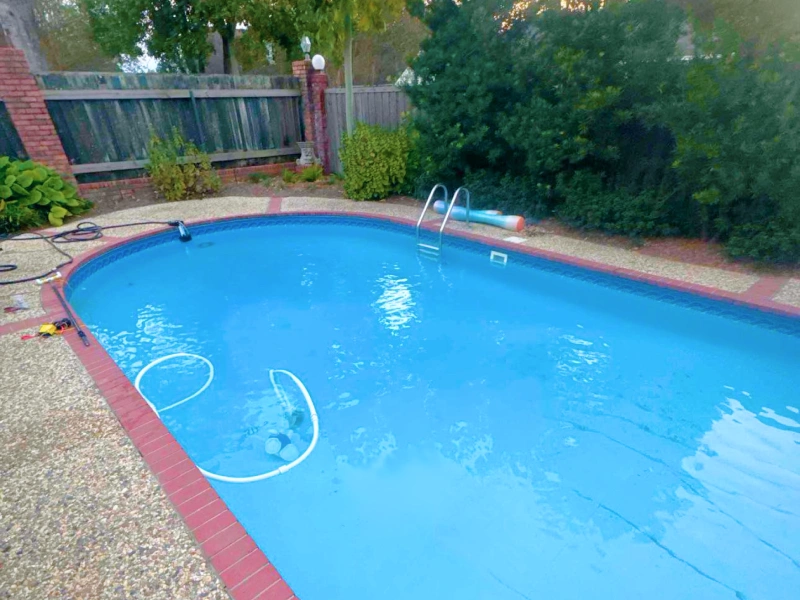
The first step to reviving your swimming oasis after months of dormancy is carefully removing the winter cover. In Louisiana, where spring arrives early and temperatures can fluctuate, your cover has likely accumulated debris, rainwater, and organic matter throughout the cooler months.
Begin by using a pool cover pump or siphon to remove standing water from the top of the cover. This prevents dirty water from entering the pool when you pull the cover off. Once drained, carefully fold the cover away from the water’s edge, sweeping or brushing off leaves, twigs, and accumulated sediment as you go.
After removal, thoroughly clean and dry the cover before storing it in a cool, dry location. Inspect it for tears, worn areas, or damage that may need repair before next season. A well-maintained cover can last for years, protecting your investment season after season.
With the cover removed, you’ll likely notice leaves, dirt, and debris that found their way into the water despite your best winterization efforts. Use a leaf skimmer or net to remove as much surface debris as possible before proceeding to the next steps. This initial cleanup makes subsequent chemical balancing more effective and prevents clogging your filtration system.
Inspect and Reinstall Equipment
Before refilling or circulating water, conduct a thorough inspection of all pool equipment. If you removed or winterized your pump, filter, heater, or other components during the off-season, now is the time to reinstall and inspect them carefully.
Check all equipment for signs of damage, corrosion, or wear that occurred during storage. Look for cracks in pump housings, worn seals, or damaged o-rings that could cause leaks once the system is operational. Inspect all hoses and connections for brittleness or deterioration, which is common in Louisiana’s humid climate.
Reinstall drain plugs that were removed during winterization, ensuring each is tightened properly to prevent leaks. Lubricate o-rings and gaskets with a silicone-based lubricant to maintain proper seals and extend their lifespan. Reconnect all plumbing lines, verifying that connections are secure and properly aligned.
If you have an automatic pool cleaner, check its hoses, wheels, and internal components for damage. Test timers, control panels, and automation systems to ensure they’re functioning correctly. This proactive inspection prevents mid-season breakdowns and ensures your system operates efficiently from day one.
For those who prefer professional assistance with equipment setup and inspection, consider scheduling a pool inspection to ensure everything is operating safely and efficiently before the swimming season begins.
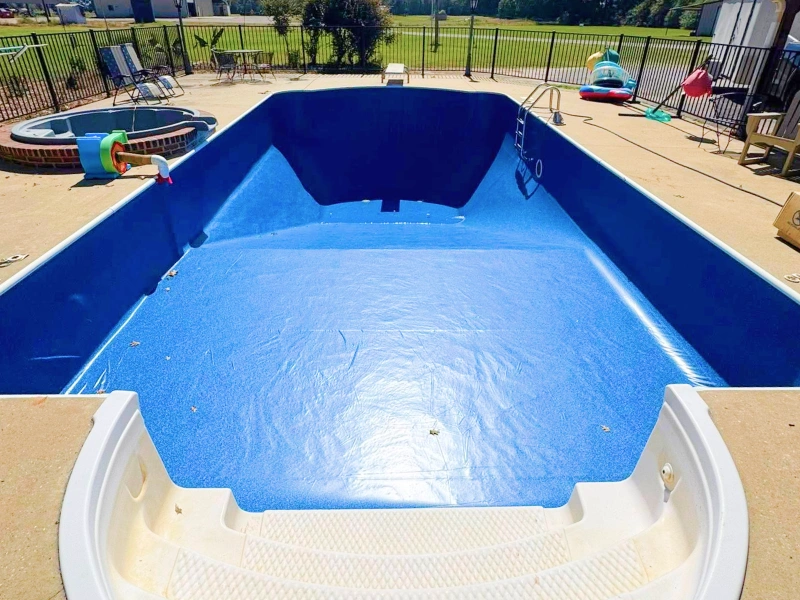
Fill Pool to Proper Level
After removing debris and inspecting equipment, the next step is ensuring your water level is appropriate for operation. During winter months, many pool owners lower the water level to prevent freeze damage or reduce chemical usage. Now it’s time to restore it to the proper operating height.
The ideal water level should reach the midpoint of your skimmer opening, typically about halfway up the skimmer’s mouth. This height allows the skimmer to effectively pull in surface debris and contaminants while preventing air from being drawn into the pump system, which can cause damage and reduce circulation efficiency.
Use a garden hose to add fresh water, monitoring the level as it rises. In Louisiana, municipal water quality can vary by area, so it’s helpful to know your local water characteristics. Some regions have harder water with higher mineral content, while others may have softer water that requires different chemical adjustments.
While filling, take note of the water’s appearance. Extremely cloudy or discolored water may indicate algae growth or excessive organic matter that will need aggressive treatment. Once you’ve reached the proper level, you’re ready to begin circulation and chemical balancing.
Start Circulation System and Prime Pump
With equipment installed and water at the proper level, it’s time to fire up your circulation system. Proper circulation is the foundation of clear, healthy water, distributing chemicals evenly and filtering out contaminants continuously.
Start by opening all valve handles to allow water to flow through the system. Ensure the multiport valve on your filter is set to the appropriate position (usually “Filter” for initial startup, though you may need to “Waste” first if the water is particularly dirty). Remove the pump lid and fill the pump basket and housing with water to prime the system and prevent dry-running, which can damage the motor and impeller.
Replace the pump lid, ensuring the o-ring is properly seated and lubricated. Turn on the power to the pump and watch for water to begin circulating. You should see water flowing through the pump’s strainer basket and pressure building on the filter gauge. It may take a minute or two for the system to fully prime and reach normal operating pressure.
Listen for unusual noises such as grinding, squealing, or excessive vibration, which could indicate a problem with the motor, impeller, or bearings. Check all connections for leaks, tightening fittings as needed. Normal operating pressure typically ranges between 10 and 25 PSI, depending on your specific system, but consult your equipment manual for precise specifications.
Run the circulation system continuously for the first 24 to 48 hours of pool opening to ensure thorough mixing of chemicals and complete filtration of debris. This initial circulation period is critical for achieving balanced, clear water quickly.
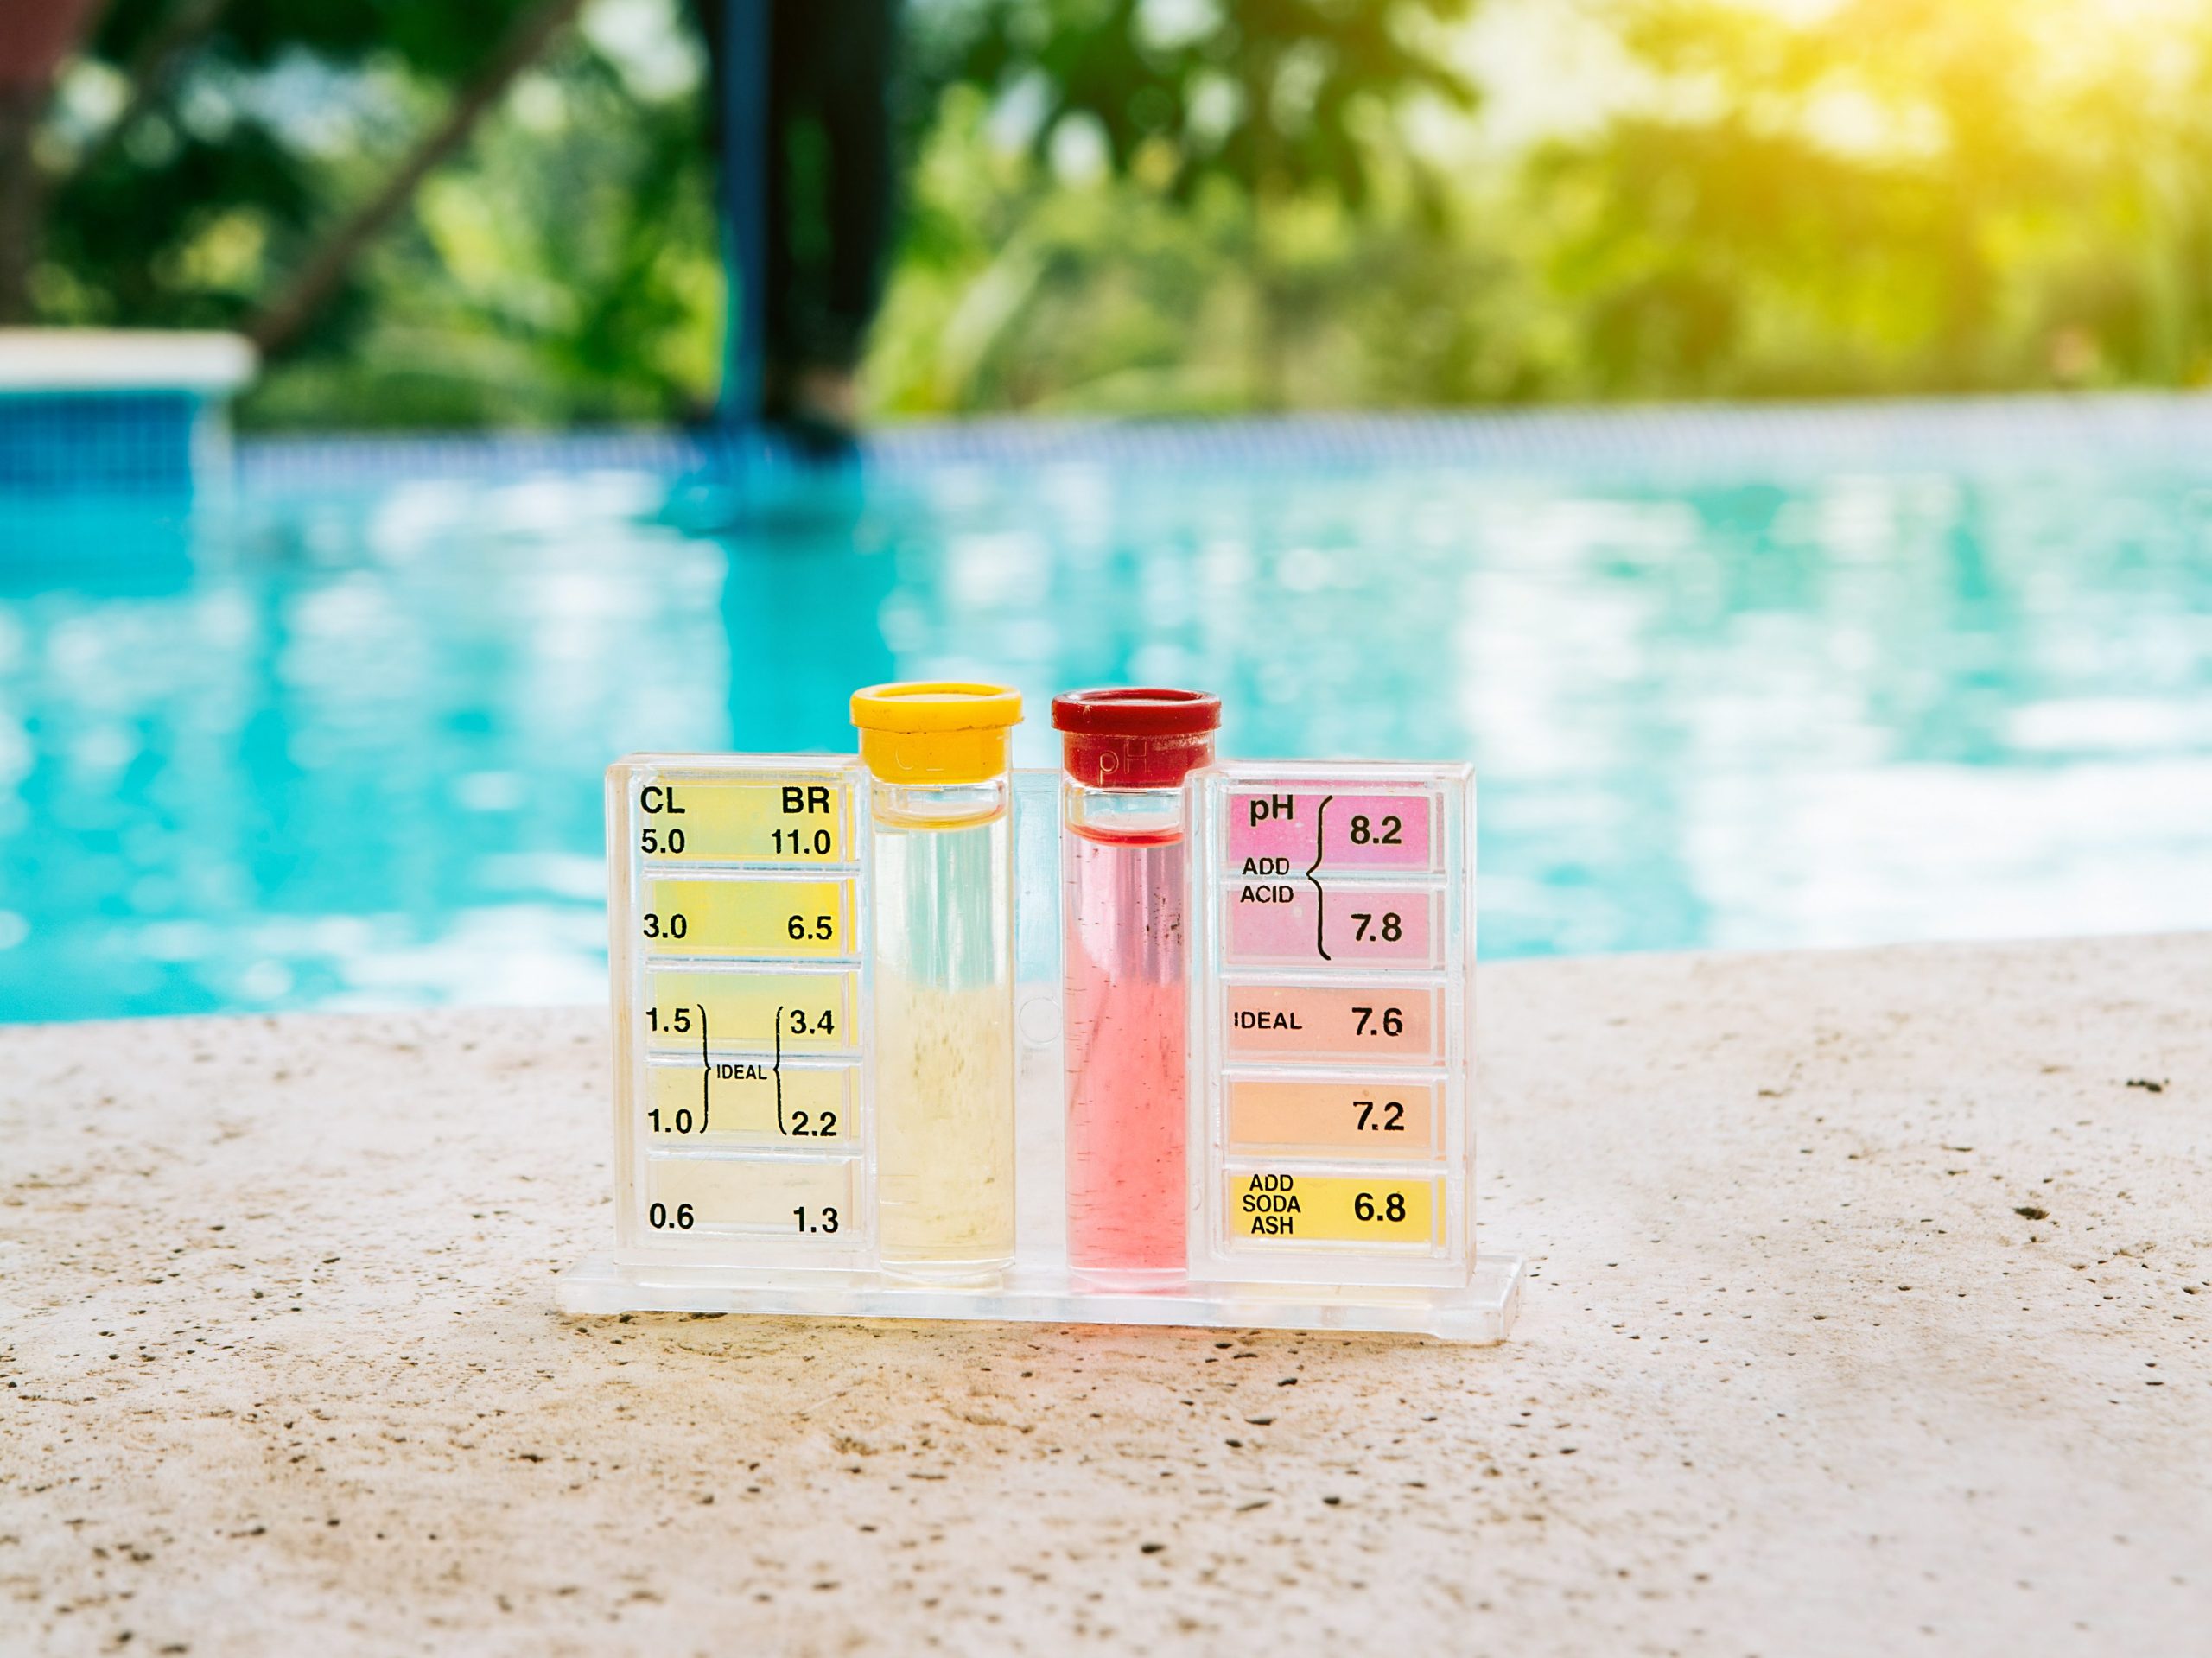
Test and Balance Water Chemistry
Water chemistry is the most critical aspect of pool maintenance, affecting not only water clarity and sanitation but also the longevity of your equipment and the comfort of swimmers. After months of dormancy, your water chemistry has likely shifted significantly and requires careful rebalancing.
Begin by testing your water for pH, total alkalinity, calcium hardness, and sanitizer levels (chlorine or bromine). Use a reliable test kit or test strips, or bring a water sample to a local pool supply store for professional analysis. Many Louisiana pool owners face challenges with naturally high pH and alkalinity due to local water sources, making regular testing especially important in this region.
Start by adjusting total alkalinity first, as it acts as a buffer for pH. The ideal range is 80 to 120 parts per million (ppm). Use alkalinity increaser (sodium bicarbonate) to raise levels or muriatic acid to lower them. Once alkalinity is balanced, adjust pH to the ideal range of 7.4 to 7.6 using pH increaser (sodium carbonate) or pH decreaser (sodium bisulfate or muriatic acid).
Next, test and adjust calcium hardness, which should fall between 200 and 400 ppm. Low calcium can cause corrosion of metal components and etching of plaster surfaces, while high calcium leads to scaling and cloudy water. Add calcium chloride to raise levels, or partially drain and refill with fresh water to lower them.
Finally, establish proper sanitizer levels. For chlorine pools, aim for 1 to 3 ppm of free chlorine. If opening a pool with significant algae or organic matter, you may need to perform a shock treatment with a higher dose of chlorine (superchlorination) to oxidize contaminants and kill bacteria. Follow product instructions carefully, and allow the chlorine level to return to normal before swimming.
Retest your water after 24 hours and make any necessary adjustments. Balanced water chemistry not only ensures safe swimming conditions but also protects your investment by preventing equipment damage and surface deterioration. For ongoing chemical management throughout the season, many pool owners benefit from professional weekly maintenance services that take the guesswork out of water chemistry.